How to Create a Campaign
Campaigns allow you to send WhatsApp messages to selected leads from the Lucco AI system.
You can use this feature to send updates, reminders, follow-up messages, promotions, or announcements to your leads.
Steps
Open the Campaigns page.
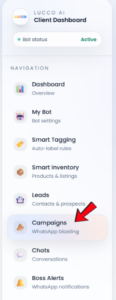
Click Create Campaign.

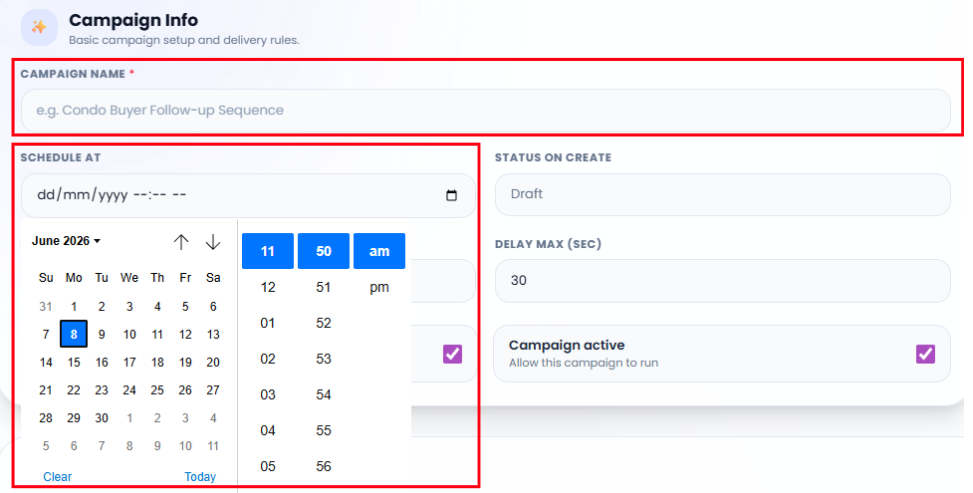
Enter the Campaign Name.
Choose the Schedule At date and time if you want the campaign to send later.
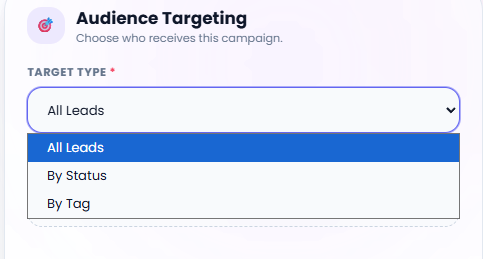
Choose the Target Type.
- This controls who will receive the campaign message.
You may choose to send the campaign to all leads or By Status leads, By Tag on your setup.
Set the Delay Min and Delay Max.
- This controls the time gap between each message.
Keep Stop on Reply enabled if you want the system to stop sending the next campaign message when a lead replies.
Keep Campaign Active enabled if you want the campaign to run.

Go to Sequence Builder.
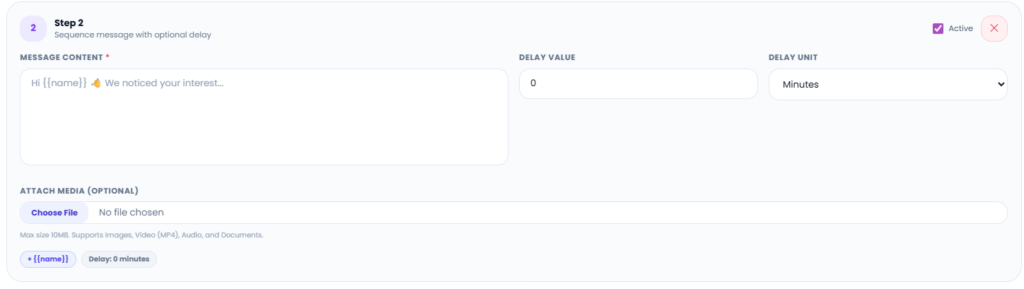
Enter the message you want to send inside Message Content.
You may use {{name}} if you want the system to include the lead name in the message.
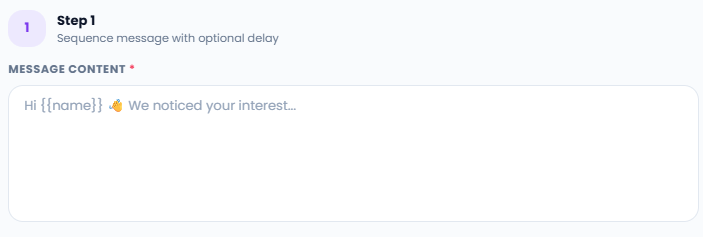
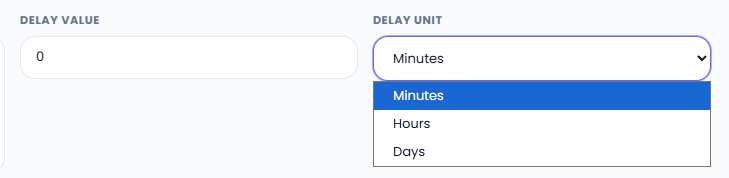
Set the Delay Value and Delay Unit if this message should be sent after a delay.
If you want to attach an image, video, audio, or document, click Choose File under Attach Media.

Click Add Step if you want to add another message after the first message.
After completing the setup, save campaign.
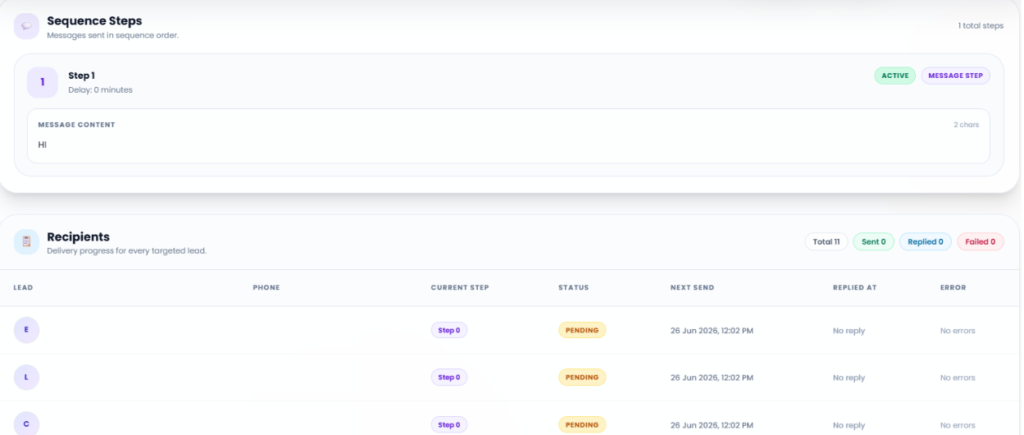
The campaign will be added into the campaign list.
Important Note
- Please check your message carefully before running the campaign.
- Make sure the message is clear, suitable, and not too frequent.
- If Stop on Reply is enabled, the system will stop the sequence when the lead replies.
- This helps avoid sending unnecessary messages after the customer has already responded.
- Please make sure your leads are correct before sending the campaign.