How can we help?
How to Create a New Tag Label
You can create your own tag labels to organize customer chats based on your business needs.
Steps
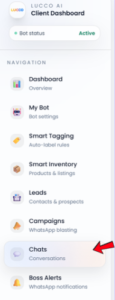
Open the Chats page.
Select any customer chat.
Click the Tag button at the top right side of the chat area.
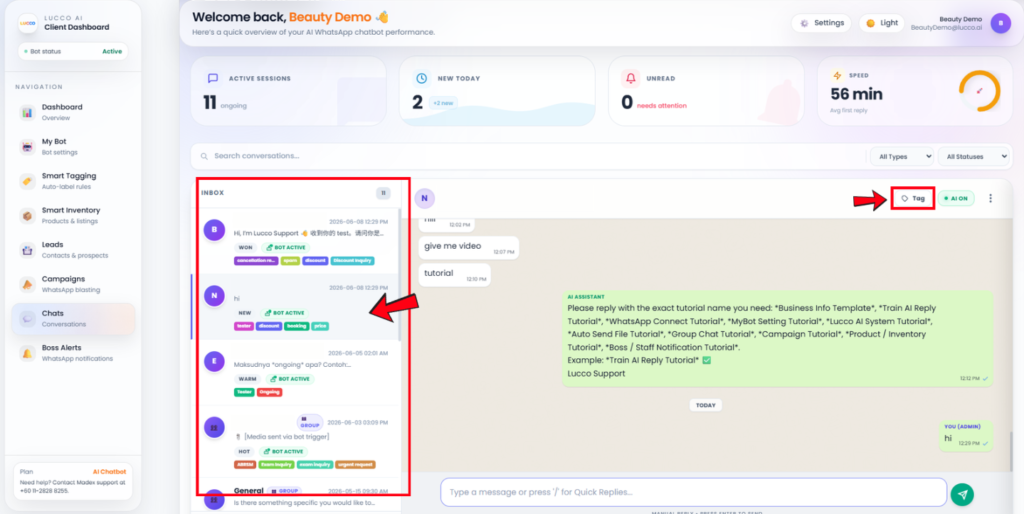
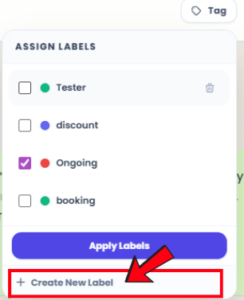
The Assign Labels box will appear.
Click Create New Label.
Enter the label name.
- Example: booking, follow up, paid, discount, appointment, urgent
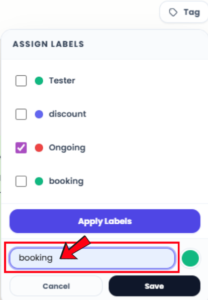
Choose a label color if needed.
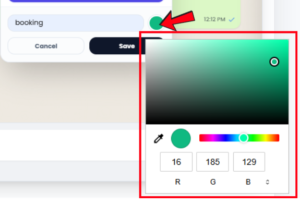
Click Save.
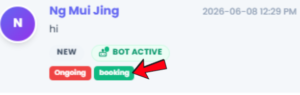
After saving, the new tag will appear in the tag list.
Tick the checkbox beside the new tag.
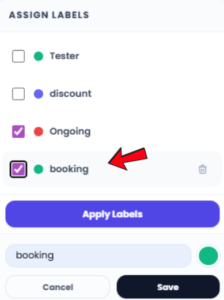
Click Apply Labels to add the tag to the customer chat.
Important Note
- Choose a clear label name so your team can understand it easily.
- Avoid creating too many similar tags, as this may make the chat list messy.
- Use tags only for information that helps your team manage customer conversations better.